
Game Dev Pill #1: NPCs & Environment (Part 1/2)
Most tutorials start with the player character — but I prefer to begin with the world. It’s what gives the game meaning and helps us feel motivated to keep building.

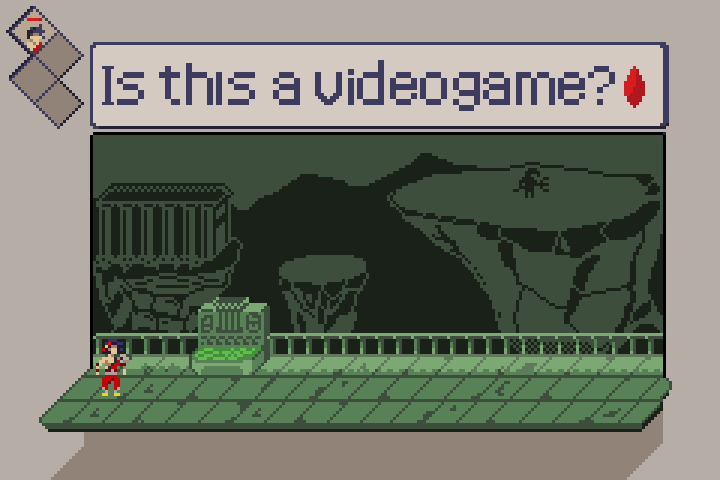
Welcome to the first Game Dev Pill class (Part 1/2) — focused on NPCs and environments!
In this entire series, we’re going to build a tiny world (remember, this is a pill-sized format!) where it feels like non-playable characters are living their own little lives. The goal? To create a sense of connection between the player and the game — just through the world itself.
…Exciting! But what do I need to get started?
Motivation
Godot 4.4
Pixel art assets (created by me) – here
(Please don’t use these assets for commercial purposes.)
📚 Why This Series?
My goal with this series is to provide tools, knowledge, and guidance that help motivate you to create your own games.
During my journey, I realized that video games (or interactive experiences) are made of systems working together. Understanding those systems and the mechanics behind them — and trying to replicate them yourself — is one of the best ways to learn.
Systems? Mechanics? What are you talking about?
Let’s use a familiar reference: Super Smash Bros.
Masahiro Sakurai and Satoru Iwata designed it as a fighting game — but unlike traditional fighters, it includes damage percentages and items, which open the door to emergent gameplay.
So let’s define some terms:
Mechanics are the rules or interactions that govern player actions and how the game responds to them.
(Source: Wikipedia)Systems are groups of mechanics stitched together through player actions, working toward a specific purpose.
(Source: Me)
In Smash Bros., the item system and the character move-sets are two distinct systems. They can affect each other at any time — and that’s what makes the game feel so dynamic and fun. (Want to dive deeper? Check this)
By the end of this series, our Player will be able to interact with the world through mechanics, while NPCs will have systems that react to those actions — leading to small moments of emergent gameplay. (No, we’re not comparing this to Zelda Tears of the Kingdom... yet.)
Let’s start! 🕹️
Time to apply what we’ve learned. Don’t worry, it’s easier than it sounds.
Open Godot 4.4 and Create our brand new project.
Let’s adjust our Godot project for Pixel Art Assets
Let’s create our first 2D Scene
Great! We have our first 2D Scene ready to start creating our game composed by Nodes, let’s set our goal and enumerate how are we going to achieve it.
Goal: Build a Tiny World 🎯
Let’s break it down into ingredients:
A space for NPCs to move and decide
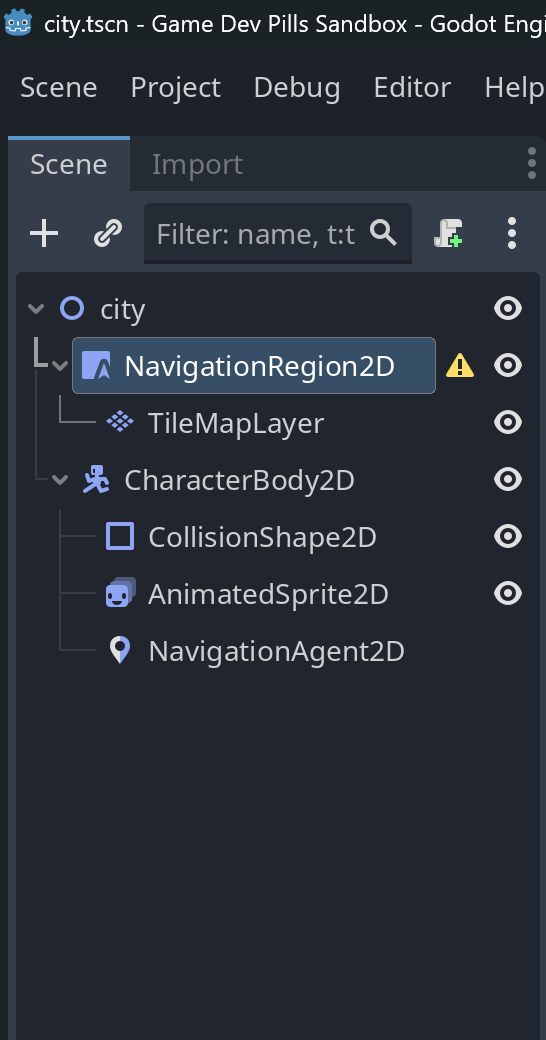
Add a
NavigationRegion2Dto define walkable areas
A world for our characters to live in
Create a
TileMapLayernode under your main “NavigationRegion2D” nodeUse 16x16 resolution assets (download here)
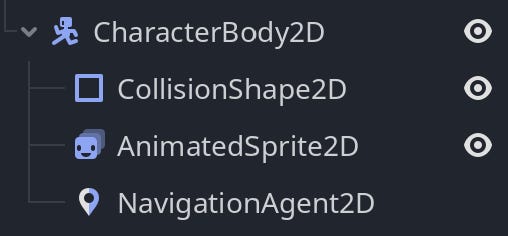
An NPC (non-playable character)
Use a
CharacterBody2DnodeUnder it, add:
CollisionShape2D– for detecting collisionsNavigationAgent2D– think of this as the GPS for your characterAnimatedSprite2D– to animate your tiny citizen!Use 16x16 resolution assets (download here)
If you followed along, your node structure should now be ready in Godot. These are your ingredients — time to start cooking!
NPC Baking
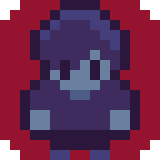
Say hello to Pillo — our first NPC!
We already set up the nodes, but here are a few things to consider before we move forward:
CollisionShape2D needs a shape (collider) to detect other objects — don’t skip this! Let me illustrate:
Now we need to set the animation for our NPC so we add some charm to the scene:
Once you’re done, Pillo is ready to become a little smarter. (We’ll handle AI and movement at Part 2 of this Series)
World baking
Now, let’s build the world.
Select the
TileMapLayerOpen the Inspector (on the right side of Godot)
Set up your tile set (add your tilesheet as an atlas)
Here’s a short video to illustrate.
Now that our current city-tilesheet.png is added as part of the Atlas (map) let’s create the tiles that we are going to use to create our tiny, tiny world. One video is worth than thousand words.
Now that your city tilesheet is set up, start painting your tiny, tiny world.
This is the fun part — go wild and be creative (Again, video to illustrate)
What’s Next?
We’ve set the foundation for our tiny world — a space waiting to be filled with activity and interaction.
In Part 2, we’ll bring our first NPC to life by adding animation, logic and simple AI, allowing them to move through the city like a real citizen. You’ll learn how to make characters walk, navigate, and react to the environment — one step closer to making your world feel dynamic.
We’re just getting started.
Before you go — help me improve this series!
Your answer will help me adjust the depth of future posts — thanks for the feedback!