
Create Your Gamedev Environment for PICO-8 in 7 minutes
After this article the perception of game development experience on PICO-8 will change for you, forever.

Hello my fellow gamedevs!
I really love PICO-8 built-in tools; sprite editor is simple and effective, same applies to sfx and music composers, but let’s be realistic, most of the time we will be coding and the editor does the job…but you can barely see 20 lines of code at the same time, which is not ideal.
For those coming from Unity, Godot, Gamemaker or any other gamedev engine, you can easily understand the scope of PICO-8 and adapt to it, but you will be feeling forced easily if you can’t get used to it.
Because I think PICO-8 have a huge potential for those that are not advanced gamedevs (like myself) — I want to share the way I code my PICO-8 games, because it really matters.
1. Create a folder for your PICO-8 Projects
You can configure several aspects of how PICO-8 runs by editing a file called config.txt. The location of this file depends on which operating system you use.
Windows:
C:/Users/Yourname/AppData/Roaming/pico-8/config.txtMac OS X:
/Users/Yourname/Library/Application Support/pico-8/config.txtLinux:
~/.lexaloffle/pico-8/config.txt
Open your config.txt file based on your operating system and now we need to look for the following lines:
// Location of pico-8’s root folder
root_path D:/_sync/SynologyDrive/_proyectos/game-development/pico8/


// Location of cartridge save data
cdata_path C:/Users/jose/AppData/Roaming/pico-8/cdata/
My configuration is based on Windows
The important property is root_path where you can set your main projects folder, so everytime you run PICO-8 you can create folders and projects files (project-name.p8) just to have your prototypes and projects clearly accesible from both PICO-8 and your Operating System file explorer.
What I have on the root_path location?
I will share the structure of files and folders from our last workshop project called super-pico-maker

After we change the config.txt we need to exit and open again our PICO-8 App.
As you can see, PICO-8 can list all the folders and projects located on your operating system, which is great to connect those now with our code editor 😊
Pro Tip. If you change the root_path location to a folder that is synchronized with Google Drive, Dropbox, OneDrive or any other cloud service you will have a backup and not only that, you can quickly work on your projects on another laptop/workstation.
I use a Synology NAS Server I have at home for that purpose.
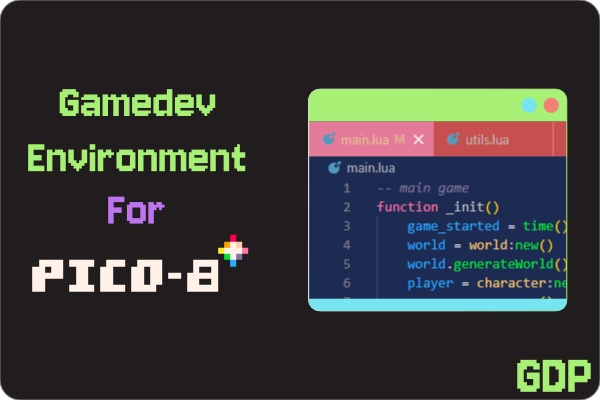
2. Choose your favourite Code Editor (A.K.A IDE)
This is quite personal, as I always say I don’t think the perfect tool exist, it is just a matter of being comfortable and efficient working the tool. Some suggestions:
Visual Studio Code - Plenty of plugins for all the languages, including PICO-8
Notepad++ - Quite powerfull and customizable as hell
Cursor - AI Focused, I try to avoid as much as possible AI tools, specially when I’m learning.
Sublime Text - Simple and elegant
I have Visual Studio Code as my main development tool for PICO-8 because now I’m used to it and I found the perfect PICO-8 theme for it.
Once you decide which Code Editor you want to start with, you need to create the structure for your first project
3. Create a PICO-8 Project Skeleton
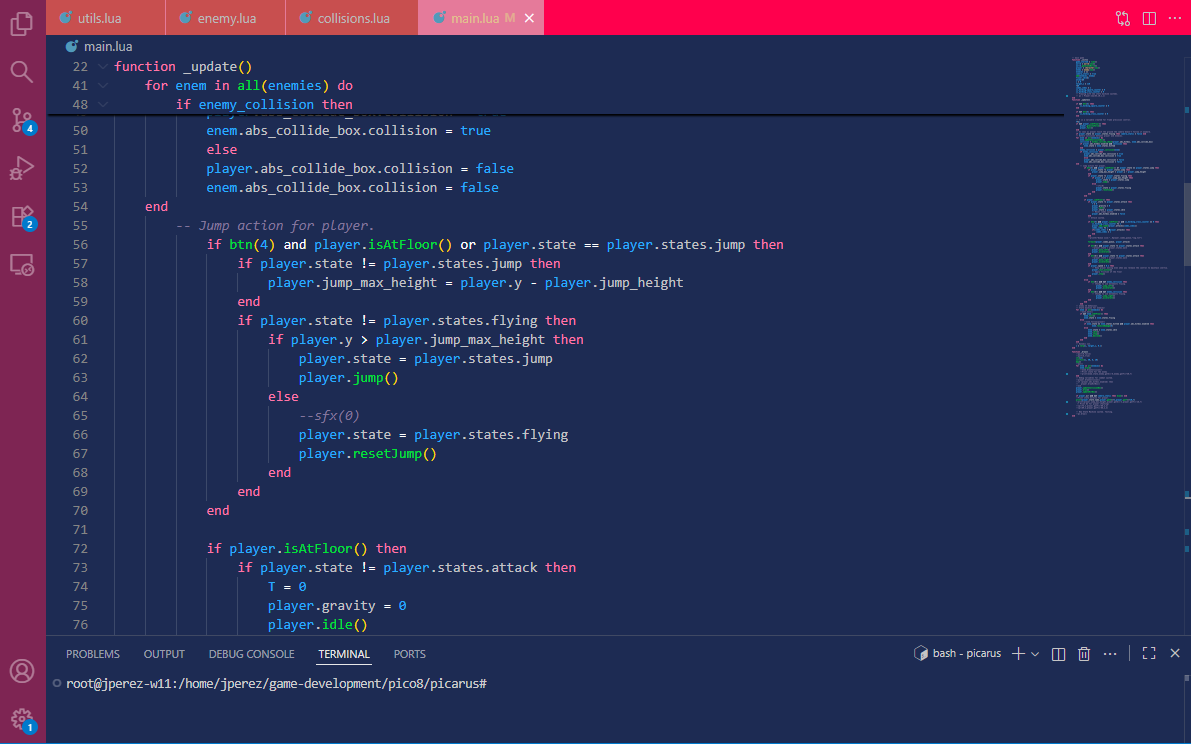
This is the interesting part, this is when PICO-8 evolve from a tiny editor to a proper development environment. Main advantages:
Multiple files to isolate functionality
Code suggestions and autocomplete for LUA
Clear overview of line numbers
Fast navigation through code
Let’s say we want to create our first RPG game on Pico-8, we are going to name it as tinyrpg. This would be the ideal structure:
TinyRPG
| ----- tinyrpg.p8
| ----- main.lua
1. Save the project from PICO-8
Now that we have the main tinyrpg.p8 file, we can create the additional files main.lua where the main loop of the videogame will be happening.
Open your editor with the folder where your tinyrpg.p8 is located
Create a file called main.lua with the content I provide later
Update the content of tinyrpg.p8 with the content I just provide at the bottom.
Content of tinyrpg.p8
pico-8 cartridge // http://www.pico-8.com
version 43
__lua__
#include main.lua
__gfx__
00000000000110000000000000000000000000000000000000000000000000000000000000000000000000000000000000000000000000000000000000000000
00000000001aa1000000000000000000000000000000000000000000000000000000000000000000000000000000000000000000000000000000000000000000
00700700001ff1000000000000000000000000000000000000000000000000000000000000000000000000000000000000000000000000000000000000000000
00077000018888100000000000000000000000000000000000000000000000000000000000000000000000000000000000000000000000000000000000000000
0007700001f88f100000000000000000000000000000000000000000000000000000000000000000000000000000000000000000000000000000000000000000
00700700001cc1000000000000000000000000000000000000000000000000000000000000000000000000000000000000000000000000000000000000000000
00000000001cc1000000000000000000000000000000000000000000000000000000000000000000000000000000000000000000000000000000000000000000
00000000001551000000000000000000000000000000000000000000000000000000000000000000000000000000000000000000000000000000000000000000
Content of main.lua
-- basic pico-8 main loop
function _init()
    player = {
        x = 64,
        y = 64,
        spd = 1.75,
        dir = 0,   -- 0=d,1=u,2=l,3=r (optional)
        anim = 0
    }
    cam_x, cam_y = 0, 0
end

function _update()
    local dx, dy = 0, 0
    if btn(0) then dx = dx - 1; player.dir = 2 end -- left
    if btn(1) then dx = dx + 1; player.dir = 3 end -- right
    if btn(2) then dy = dy - 1; player.dir = 1 end -- up
    if btn(3) then dy = dy + 1; player.dir = 0 end -- down
    -- diagonal speed correction
    if dx ~= 0 and dy ~= 0 then
        dx = dx * 0.7071
        dy = dy * 0.7071
    end
    player.x = player.x + dx * player.spd
    player.y = player.y + dy * player.spd
    -- clamp to screen world limits
    player.x = mid(8, player.x, 120)
    player.y = mid(8, player.y, 120)
    -- camera follows player
    cam_x = player.x - 64
    cam_y = player.y - 64
end

function _draw()
    cls(0)
    -- apply camera
    camera(flr(cam_x), flr(cam_y))
    for ty = 0, 15 do
        for tx = 0, 15 do
            local col = ((tx + ty) % 2 == 0) and 5 or 7
            rectfill(tx*8, ty*8, tx*8+7, ty*8+7, col)
        end
    end
    spr(1, player.x - 4, player.y - 4)
    -- reset camera for HUD
    camera()
    -- HUD
    rectfill(0, 0, 127, 7, 0)
    print(”x:”..flr(player.x)..” y:”..flr(player.y), 2, 1, 7)
end
So now we have a quick prototype connected with our code editor, let’s run PICO-8 to see the results.
How does it feel?
We can say you unlocked a new way to create prototypes and small games faster than before, you can connect now your code to a source code repository and start your project with a proper development workflow.
Remember that PICO-8 is limited to 8192 tokens, but that doesn’t mean that we can’t create high quality titles under that scope.